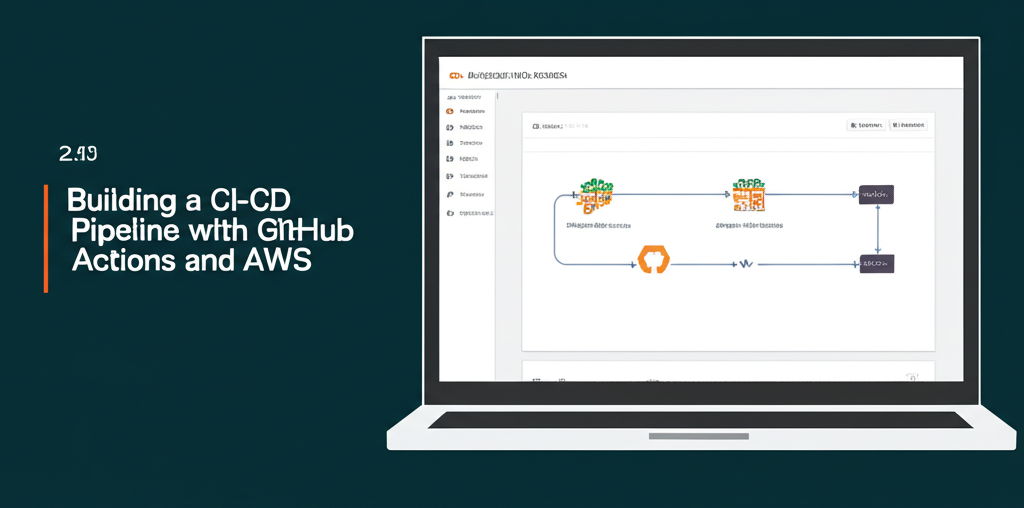
From Code to Cloud: Building a CI/CD Pipeline with GitHub Actions and AWS
So, you’ve got your awesome project humming along in GitHub, and you’re ready to unleash it upon the world. But manually deploying updates every time you make a change? That’s a recipe for late nights and headaches. Enter CI/CD: Continuous Integration and Continuous Delivery/Deployment.
In this blog post, we’ll walk you through the fundamentals of building a CI/CD pipeline using two powerful tools: GitHub Actions and AWS. Don’t worry if you’re new to this. We’ll break it down step-by-step!
What is CI/CD Anyway?
Think of CI/CD as an automated assembly line for your code. It automates the process of:
- Continuous Integration (CI): Every time you (or someone else) pushes code to your repository, the pipeline automatically builds, tests, and integrates that code. This helps catch errors early.
- Continuous Delivery/Deployment (CD): After the code is integrated, the pipeline automatically deploys your application to your chosen environment (staging, production, etc.). Delivery means the code is ready to be deployed, while Deployment means it’s automatically deployed.
Why Use GitHub Actions and AWS?
- GitHub Actions: A built-in CI/CD tool directly integrated into your GitHub repository. It’s free for public repositories and offers generous free tiers for private ones. It’s incredibly easy to set up and use.
- AWS (Amazon Web Services): A comprehensive suite of cloud computing services. We’ll focus on using AWS services for deploying our application. AWS offers scalability, reliability, and a wide range of options for different deployment scenarios.
Our Example: A Simple Web App Deployment to AWS S3
For this tutorial, we’ll keep it simple. We’ll deploy a static website (HTML, CSS, JavaScript) to an AWS S3 bucket, making it accessible via the web. This is a great starting point for understanding the fundamentals.
Prerequisites:
- A GitHub Account: You’ll need a GitHub account with a repository containing your project’s code.
- An AWS Account: You’ll need an AWS account with appropriate IAM permissions. We’ll explain the IAM part later.
- Basic Knowledge of Git and AWS: A basic understanding of Git commands and AWS services will be helpful.
Let’s Get Building!
Here’s the plan:
- Create an S3 Bucket: We’ll set up an S3 bucket in AWS to store our website files.
- Create an IAM User with S3 Permissions: We’ll create an IAM user that GitHub Actions can use to access and upload files to our S3 bucket.
- Configure GitHub Actions Workflow: We’ll create a
.github/workflowsdirectory in our repository and add a YAML file defining our CI/CD pipeline. - Test and Deploy: We’ll trigger the pipeline by pushing changes to our repository and watch the magic happen!
Step 1: Create an S3 Bucket
- Log in to the AWS Management Console.
- Navigate to the S3 service.
- Click “Create bucket”.
- Give your bucket a globally unique name (e.g.,
my-awesome-website-bucket-123). - Choose a region close to your target audience.
- Important: Under “Block Public Access settings for this bucket,” uncheck “Block all public access.” We need to allow public access so users can view our website. However, we’ll configure specific permissions later to prevent unauthorized access.
- Accept the acknowledgement that the objects can be public.
- Click “Create bucket.”
Step 2: Create an IAM User with S3 Permissions
IAM (Identity and Access Management) is crucial for controlling access to your AWS resources. We’ll create an IAM user specifically for GitHub Actions, granting it only the necessary permissions to upload files to our S3 bucket.
- Navigate to the IAM service in the AWS Management Console.
- Click “Users” then “Add user”.
- Give your user a name (e.g.,
github-actions-s3-deploy). - Select “Access key – Programmatic access”.
- Click “Next: Permissions”.
- Select “Attach existing policies directly”.
- Search for and select the “AmazonS3FullAccess” policy. WARNING: This gives full access to ALL your S3 buckets, which is generally not recommended for production. For production, create a custom policy that grants access only to the specific bucket and actions needed (e.g.,
s3:PutObject,s3:GetObject,s3:ListBucketon your bucket). - Click “Next: Tags” (optional, but good practice for organization).
- Click “Next: Review”.
- Click “Create user”.
Important: Immediately download the .csv file containing the Access key ID and Secret access key. You’ll need these credentials in the next step. Treat these credentials like passwords! Don’t commit them to your repository!
Step 3: Configure GitHub Actions Workflow
Now for the fun part! We’ll create a GitHub Actions workflow to automate our deployment.
- Create the directory: In your repository, create a directory named
.github/workflows. - Create a workflow file: Inside this directory, create a file named
deploy-to-s3.yml(or any name you like, as long as it ends in.yml). - Add the following YAML code to your
deploy-to-s3.ymlfile:
name: Deploy to AWS S3

on:
  push:
    branches:
      - main # Or your main branch name (e.g., 'master')

jobs:
  deploy:
    runs-on: ubuntu-latest

    steps:
      - name: Checkout code
        uses: actions/checkout@v3

      - name: Configure AWS credentials
        uses: aws-actions/configure-aws-credentials@v2
        with:
          aws-access-key-id: ${{ secrets.AWS_ACCESS_KEY_ID }}
          aws-secret-access-key: ${{ secrets.AWS_SECRET_ACCESS_KEY }}
          aws-region: your-aws-region # e.g., us-east-1

      - name: Deploy to S3
        run: |
          aws s3 sync . s3://your-bucket-name --delete  # Replace with your bucket name
Let’s break down this YAML file:
name: Deploy to AWS S3: A descriptive name for your workflow.on: push: branches: [main]: This workflow will trigger automatically whenever code is pushed to themainbranch (or whatever your main branch is named).jobs: deploy:Defines a job named “deploy”.runs-on: ubuntu-latest: Specifies the operating system to use for the job (Ubuntu in this case).steps:Defines the sequence of steps to execute within the job.actions/checkout@v3: A standard action that checks out your code from the repository.aws-actions/configure-aws-credentials@v2: This action configures AWS credentials so the workflow can interact with your AWS account. This is where we use GitHub Secrets.aws s3 sync . s3://your-bucket-name --delete: This is the crucial step! It uses the AWS CLI to:sync . s3://your-bucket-name: Uploads all files from the current directory (.) to your S3 bucket.--delete: Deletes files from the S3 bucket that are no longer present in the local directory. This ensures that your bucket always reflects the latest code.
GitHub Secrets: Protecting Your Credentials
Notice the lines:
aws-access-key-id: ${{ secrets.AWS_ACCESS_KEY_ID }}
aws-secret-access-key: ${{ secrets.AWS_SECRET_ACCESS_KEY }}
We’re using GitHub Secrets to securely store our AWS credentials. Don’t ever hardcode your access key ID and secret access key directly into your workflow file!
Here’s how to create GitHub Secrets:
- Go to your GitHub repository.
- Click on “Settings”.
- Click on “Secrets” and then “Actions”.
- Click “New repository secret”.
- Create a secret named
AWS_ACCESS_KEY_IDand paste in your AWS access key ID. - Create another secret named
AWS_SECRET_ACCESS_KEYand paste in your AWS secret access key.
Important: The names of the secrets in your workflow file (e.g., AWS_ACCESS_KEY_ID) must match the names you give them in GitHub Secrets exactly!
Step 4: Test and Deploy!
- Commit and push your changes: Commit your
.github/workflows/deploy-to-s3.ymlfile and push it to yourmainbranch. - Watch the workflow run: Go to your GitHub repository, click on “Actions,” and you should see your “Deploy to AWS S3” workflow running.
- Check your S3 bucket: Once the workflow completes successfully, go to your S3 bucket in the AWS Management Console. You should see your website files uploaded there.
Making Your S3 Bucket Website Public
- Go to the S3 Management Console and select the bucket you created.
- Go to the “Permissions” tab.
- Under “Bucket policy”, click “Edit”.
- Add the following bucket policy, replacing
your-bucket-namewith the name of your bucket:
{
    "Version": "2012-10-17",
    "Statement": [
        {
            "Sid": "PublicReadGetObject",
            "Effect": "Allow",
            "Principal": "*",
            "Action": "s3:GetObject",
            "Resource": "arn:aws:s3:::your-bucket-name/*"
        }
    ]
}
- Click “Save changes”.
-
Go to the “Properties” tab of your bucket.
-
Scroll down to the “Static website hosting” section and click “Edit”.
-
Enable “Static website hosting”.
-
In the “Index document” field, enter the name of your website’s main HTML file (e.g.,
index.html). -
Click “Save changes”.
-
Copy the “Endpoint” URL displayed under “Static website hosting”. This is the URL for your website! Paste it into your browser.
Congratulations! You’ve deployed your website to AWS S3 using GitHub Actions!
Going Further:
- Custom Domains: Connect your S3 bucket to a custom domain name using AWS Route 53.
- HTTPS: Enable HTTPS for your website using AWS Certificate Manager and CloudFront.
- More Complex Applications: Explore deploying more complex applications to services like AWS EC2, Elastic Beanstalk, or ECS using GitHub Actions.
- Testing: Integrate automated tests into your workflow to ensure code quality.
Conclusion:
This tutorial provides a basic foundation for building CI/CD pipelines with GitHub Actions and AWS. By automating your deployment process, you can save time, reduce errors, and focus on building amazing applications. Happy coding and deploying!