Getting Started with GitLab: Repositories and Access Control (A Beginner’s Guide)
So, you’re ready to dive into the world of GitLab! That’s great! GitLab is a powerful platform for collaborative software development, offering features like version control, issue tracking, CI/CD, and much more. But before you can unleash its full potential, you need to understand the basics: creating repositories and managing access.
This post will walk you through these fundamental concepts in a clear and easy-to-understand way. Think of it as your friendly guide to setting up your first GitLab project. Let’s get started!
What We’ll Cover:
- What is a Repository? (The foundation of your project!)
- Creating Your First GitLab Repository: (Step-by-step)
- Understanding Access Levels: (Who can see and do what?)
- Managing Access to Your Repository: (Adding and controlling permissions)
1. What is a Repository?
In the world of version control, a repository (often called a “repo”) is simply a digital folder where all the files and the entire history of your project are stored. Think of it as a sophisticated tracking system for all the changes you make to your code, documents, or any other files related to your project.
GitLab uses Git, a distributed version control system, behind the scenes. So, a GitLab repository isn’t just a storage space; it’s a fully functional Git repository, allowing you to track changes, collaborate effectively, and easily revert to previous versions if needed.
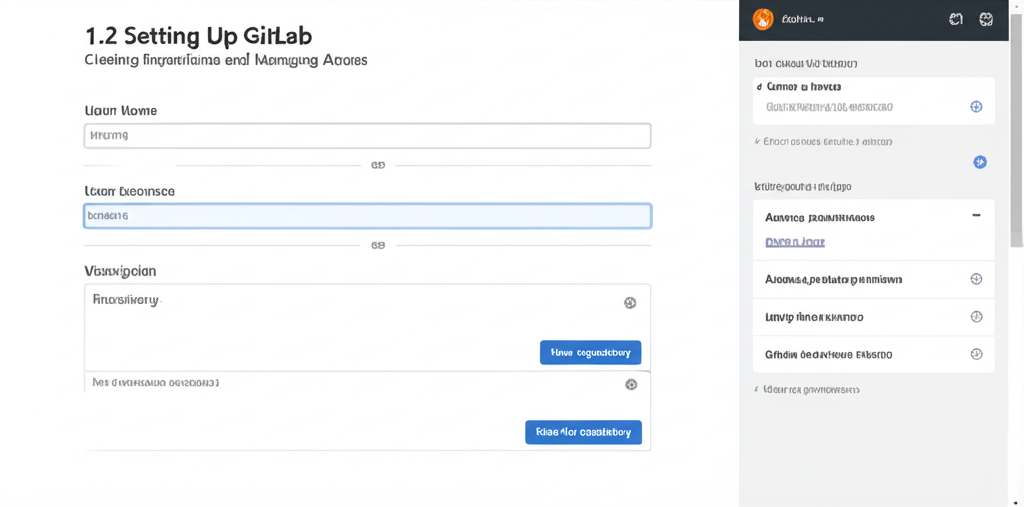
2. Creating Your First GitLab Repository
Ready to create your first repository? Here’s how:
- Log in to GitLab: Head over to gitlab.com and log in to your account. If you don’t have one, create a free account.
- Click “Create new project”: You’ll find this button prominently displayed on your GitLab dashboard, usually in the upper-right corner or center of the page.
- Choose “Create blank project”: This gives you a clean slate to start from. You can also import a project from other services later if you need to.
- Fill in the Project Details:
- Project name: Give your project a descriptive and memorable name (e.g., “My Awesome Website,” “Python Data Analysis”).
- Project slug: This is the URL-friendly version of your project name. GitLab will often automatically generate this based on your project name, but you can customize it.
- Description (optional): Provide a short description of your project’s purpose. This helps others understand what your project is about.
- Visibility Level: This determines who can access your project. Here’s a breakdown:
- Private: Only project members can access the repository. This is a good choice for sensitive code or projects that are not intended for public viewing.
- Internal: All logged-in users on your GitLab instance can access the repository. This is useful for projects within a company or organization.
- Public: Anyone can view the repository, even without a GitLab account. This is ideal for open-source projects.
- Click “Create project”: Congratulations! You’ve just created your first GitLab repository.
3. Understanding Access Levels
Before you start inviting collaborators, it’s important to understand the different access levels available in GitLab. These determine what users can do within your repository. Here’s a summary:
- Guest: Can view issues and leave comments. Limited access.
- Reporter: Can also view the repository, create issues, and clone the project.
- Developer: Can push code, merge requests, and perform most development tasks.
- Maintainer: Has almost full control, including managing project settings, users, and releases.
- Owner: Has the highest level of access and can perform any action on the project. (This is typically the person who created the project.)
4. Managing Access to Your Repository
Now that you have a repository and understand access levels, let’s add some collaborators!
- Navigate to “Settings” -> “Members”: On your project’s page, find the “Settings” tab (usually on the left sidebar) and then click on “Members.”
- Invite Members: In the “Invite members” section, type the username or email address of the person you want to add.
- Select an Access Level: Choose the appropriate access level from the dropdown menu (Guest, Reporter, Developer, Maintainer). Consider what tasks the user will be performing in the project.
- Set an Expiration Date (optional): If you want the user’s access to expire after a certain date, you can set one here.
- Click “Invite”: GitLab will send an invitation to the user, and once they accept, they’ll have the specified access to your repository.
Managing Existing Members:
On the same “Settings” -> “Members” page, you’ll see a list of current project members. You can:
- Change their access level: Click the pencil icon next to their name to modify their role.
- Remove them from the project: Click the trash can icon to revoke their access.
Best Practices for Access Control:
- Principle of Least Privilege: Always grant users the minimum necessary access level required for their tasks. Don’t give someone Maintainer access if they only need to push code.
- Regularly Review Members: Periodically check your project’s members list and ensure that everyone still needs access and has the appropriate permissions. Remove anyone who is no longer contributing.
- Use Groups for Large Teams: For larger organizations, consider using GitLab Groups to manage access for teams instead of individual users. This simplifies administration.
Conclusion
You’ve now taken the first steps towards mastering GitLab! You’ve learned how to create a repository and manage access control, which are essential skills for any developer working on collaborative projects.
Experiment with different access levels and explore GitLab’s other features. The more you use it, the more comfortable you’ll become. Happy coding!