Level Up Your Code Reviews: A Beginner’s Guide to Pull Requests in Bitbucket
So, you’re coding away, building amazing things. That’s great! But before you unleash your code into the wild (aka your main branch), you need to get it reviewed. That’s where Pull Requests (PRs) come in, and in this post, we’ll dive into how to manage them effectively in Bitbucket.
Think of a Pull Request as a formal request to merge your code changes into the main codebase. It’s your chance to get feedback, catch bugs, and ensure your code meets the team’s standards before it becomes a permanent part of the project.
Why are Code Reviews and Pull Requests Important?
Imagine building a house without an inspector. It might look good on the surface, but what about the plumbing, electrical wiring, and structural integrity? Code reviews act as that inspector for your code, offering several key benefits:
- Bug Detection: A fresh pair of eyes can spot errors you might have missed.
- Knowledge Sharing: Reviewers can learn from your code, and vice-versa.
- Code Quality: Ensures the code adheres to coding standards and best practices.
- Collaboration: Fosters a collaborative environment and shared ownership of the codebase.
- Reduced Risk: Prevents problematic code from making it into production.
Getting Started with Pull Requests in Bitbucket: A Step-by-Step Guide
Let’s walk through the process of creating and managing a pull request in Bitbucket.
1. Create a Branch:
- First, you need to create a separate branch for your changes. This ensures you’re not directly modifying the main codebase. Think of it as building a prototype on a separate piece of land before integrating it into the main building.
- In your terminal, navigate to your project directory and run:
git checkout -b feature/your-feature-nameReplace
feature/your-feature-namewith a descriptive name for your branch. For example,feature/add-user-authentication.
2. Make Your Changes:
- Now, go ahead and make your code changes on this new branch. Write your code, test it thoroughly, and commit your changes.
3. Commit Your Changes:
- Commit your changes with clear and descriptive messages. Good commit messages make the review process much easier.
git add . git commit -m "feat: Added user authentication functionality"feat: Indicates a new feature.fix: Indicates a bug fix.docs: Indicates documentation changes.style: Indicates changes that do not affect the meaning of the code (white-space, formatting, missing semi-colons, etc).refactor: Indicates a code change that neither fixes a bug nor adds a feature.perf: Indicates a code change that improves performance.test: Indicates adding missing tests or correcting existing tests.build: Indicates changes that affect the build system or external dependencies.ci: Indicates changes to our CI configuration files and scripts.chore: Indicates other changes that don’t modify src or test files.revert: Reverts a previous commit.
4. Push Your Branch to Bitbucket:
- Push your local branch to your Bitbucket repository.
git push origin feature/your-feature-name
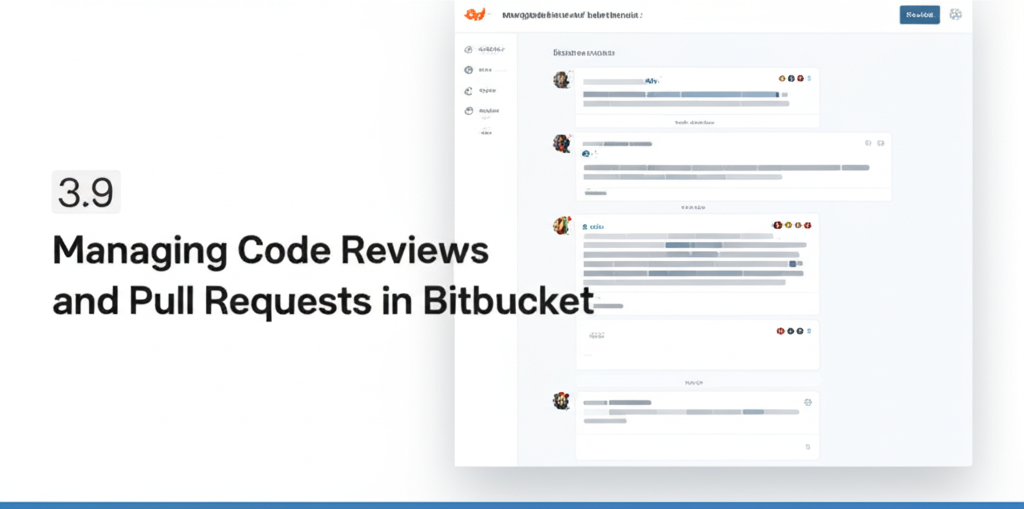
5. Create a Pull Request in Bitbucket:
- Go to your Bitbucket repository in your web browser.
- You should see a banner suggesting you create a Pull Request for the branch you just pushed.
- Click the “Create pull request” button.
- Fill out the form:
- Title: A clear and concise title for your PR (e.g., “Add User Authentication”).
- Description: Provide a detailed explanation of what your changes do, why they were made, and any context that might be helpful for reviewers. Include information like:
- What problem does this PR solve?
- What approach did you take?
- Any potential drawbacks or considerations?
- Reviewers: Select the individuals or teams who should review your code. Choose people who are familiar with the codebase you’ve modified.
- Source Branch: This should already be set to your feature branch.
- Destination Branch: This is usually the
mainordevelopbranch. Confirm it’s the correct target.
- Click “Create pull request.”
6. The Review Process:
- Reviewers: Assigned reviewers will receive a notification and can access your PR in Bitbucket.
- Feedback: Reviewers will leave comments directly on the code within the PR, suggesting improvements, pointing out potential bugs, or asking clarifying questions.
- Addressing Feedback: You need to address the feedback you receive. Make the necessary changes in your local branch, commit them, and push them to the remote branch. The PR will automatically update with your new changes.
- Discussions: Don’t be afraid to engage in discussions with your reviewers. It’s a collaborative process! Explain your reasoning, ask questions, and work together to reach the best solution.
- Tasks: Reviewers can also create tasks inside your Pull Request to address specific points. Ensure that all tasks are resolved before merging.
7. Merging the Pull Request:
- Once all reviewers are satisfied and any required checks pass (e.g., automated tests), the reviewers will approve your PR.
- Click the “Merge” button in Bitbucket.
- Choose your merge strategy:
- Merge commit: Creates a new commit that represents the merge. Preserves the history of the feature branch.
- Squash: Combines all commits from the feature branch into a single commit on the target branch. Clean history, but loses the individual commit details.
- Rebase: Rewrites the history of the feature branch as if it had been created from the latest commit on the target branch. Clean history, but can be tricky to manage if the branch has diverged significantly.
- Confirm the merge.
8. Cleanup:
- After merging, delete the feature branch (both locally and remotely) to keep your repository clean.
git checkout main
git pull origin main
git branch -d feature/your-feature-name  # Delete local branch
git push origin --delete feature/your-feature-name # Delete remote branch
Best Practices for Managing Pull Requests:
- Small PRs: Keep your pull requests small and focused. Smaller changes are easier to review and reduce the risk of introducing bugs. Aim for a single logical unit of work.
- Descriptive Commit Messages: Use clear and concise commit messages to explain each change.
- Automated Tests: Include automated tests to ensure your code works as expected and doesn’t break existing functionality.
- Coding Standards: Adhere to your team’s coding standards and style guidelines.
- Be Responsive: Respond promptly to feedback and address concerns raised by reviewers.
- Learn From Reviews: Treat code reviews as a learning opportunity. Pay attention to the feedback you receive and use it to improve your coding skills.
- Use a Linter: Integrate a linter into your development workflow to catch syntax errors and style violations early on.
- Have a Template: Implement a standard template for pull requests, so the reviewers always know what to expect.
Conclusion:
Mastering pull requests and code reviews is crucial for building high-quality software and fostering a collaborative development environment. By following the steps outlined in this guide and adopting best practices, you can improve your code quality, reduce bugs, and become a more effective developer. So, embrace the power of PRs and watch your code (and your team) thrive!