Your First Bitbucket Repository: A Beginner’s Guide to Getting Started
So, you’re ready to dive into the world of version control with Bitbucket? Fantastic! This guide will walk you through creating your first repository and managing access control, making it a breeze to collaborate on your projects. We’ll keep it simple, clear, and focused on practical steps.
What is a Repository?
Think of a repository (or “repo” for short) as a folder on steroids! It’s a centralized storage location for all your project’s files, including code, images, documents, and everything else. Bitbucket tracks every change made to these files, allowing you to:
- Revert to previous versions: Mistakes happen! Repositories let you undo changes and go back to a working state.
- Collaborate effectively: Multiple people can work on the same project simultaneously without overwriting each other’s work.
- Track progress: See who made what changes and when.
- Experiment safely: Create branches to test new features without affecting the main codebase.
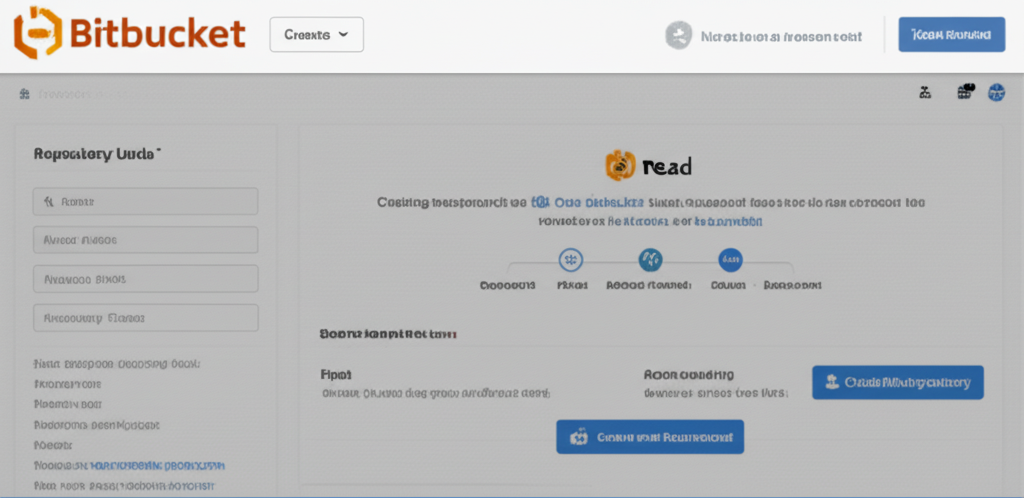
Step 1: Creating Your First Bitbucket Repository
First things first, make sure you have a Bitbucket account. If not, head over to Bitbucket.org and sign up – it’s free!
Once you’re logged in, follow these steps:
- Click the “Create” button: You’ll find this at the top of your Bitbucket dashboard, often near your profile picture.
- Select “Repository”: A dropdown menu will appear. Choose “Repository” to start creating your new project space.
- Fill in the details:
- Project: If you already have a project set up, select it. If not, you can create a new one. A project is like a container that helps you group related repositories.
- Repository name: Choose a descriptive name for your repository (e.g., “my-website,” “python-script,” “game-project”).
- Access level: Decide whether you want your repository to be:
- Private: Only you and people you explicitly invite can access it.
- Public: Anyone can view the code, but only you and your invited collaborators can make changes.
- Include a README? This is highly recommended! A README file explains what your project is about, how to use it, and other important details. Bitbucket can automatically generate a basic README for you.
- Choose a Version Control System: Bitbucket supports both Git and Mercurial. For most projects, Git is the standard and highly recommended.
- Click “Create repository”: That’s it! Your new repository is born.
Step 2: Cloning Your Repository to Your Local Machine
Now that you have a repository online, you need to bring it down to your computer to start working on it. This is done using the git clone command.
- Find the Clone URL: On your repository page, you’ll see a “Clone” button (usually in the top right corner). Click it.
- Copy the URL: Choose the protocol you prefer (HTTPS is generally recommended for beginners). Copy the URL provided. It will look something like
https://bitbucket.org/<your-username>/<your-repository-name>.git. - Open your terminal or command prompt: Navigate to the directory where you want to store your project.
- Run the
git clonecommand: Typegit clone <your-copied-url>(replace<your-copied-url>with the actual URL you copied) and press Enter. - Enter your Bitbucket credentials (if prompted): You might be asked for your username and password.
Now, you have a local copy of your Bitbucket repository on your machine!
Step 3: Managing Access Control
Controlling who has access to your repository is crucial, especially for private projects. Bitbucket makes this easy:
- Go to your repository settings: On your repository page, find the “Settings” option in the left-hand menu.
- Click on “User and group access”: This section lets you manage permissions for individual users and groups.
- Invite users or groups:
- Add users: Type the Bitbucket username or email address of the person you want to invite.
- Choose a permission level:
- Read: The user can view the code but cannot make any changes.
- Write: The user can view, modify, and commit changes to the repository.
- Admin: The user has full control over the repository, including managing users, settings, and deleting the repository. Be cautious when granting admin access!
- Send the invitation: Once you’ve added the user and selected their permission level, click the “Add” button. The user will receive an email invitation.
Key Considerations for Access Control:
- Principle of Least Privilege: Grant only the minimum level of access necessary for each user to perform their tasks.
- Use Groups: If you have multiple people who need the same level of access, create a group and assign permissions to the group instead of individually adding each user. This makes it easier to manage permissions in the long run.
- Regularly Review Access: Periodically review the list of users and groups with access to your repository to ensure that permissions are still appropriate.
Next Steps:
Now that you have your first repository and understand access control, you’re ready to start coding! Here are some things to explore next:
- Making changes, committing, and pushing: Learn how to modify files in your local repository, commit those changes (save them), and push them back to Bitbucket.
- Branching and merging: Explore how to create branches to work on new features in isolation and then merge them back into the main codebase.
- Pull requests: Learn how to propose changes to a repository using pull requests, allowing for code review and collaboration.
- Bitbucket Pipelines: Automate your build, test, and deployment processes.
Creating a repository and managing access is just the beginning! Embrace the power of version control with Bitbucket and unlock a world of collaborative and efficient development. Happy coding!