Ditching the Past? How to Easily Migrate Your Projects from GitHub or Bitbucket to GitLab
So, you’re thinking about making the move? Maybe you’re drawn to GitLab’s integrated CI/CD, the free private repos, or just want a fresh start. Whatever your reason, migrating your projects from GitHub or Bitbucket to GitLab doesn’t have to be a daunting task.
This guide will walk you through the process, step-by-step, using simple language and focusing on the most straightforward migration methods. Let’s get started!
Why Migrate to GitLab?
Before we dive in, let’s briefly touch on why people choose to migrate:
- Integrated CI/CD: GitLab has a powerful CI/CD pipeline built right in, simplifying your development workflow.
- Free Private Repositories: GitLab offers unlimited free private repositories, which can be a huge benefit for personal projects or small teams.
- Feature-Rich Platform: GitLab is more than just a code repository; it’s a complete DevOps platform with features like issue tracking, wikis, and container registry.
- Cost Savings: Depending on your needs, GitLab can offer significant cost savings compared to GitHub or Bitbucket’s paid plans.
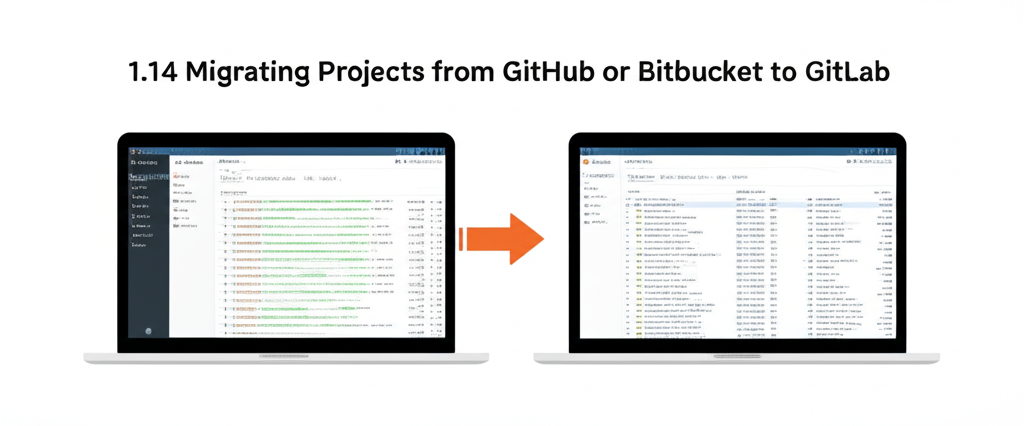
The Easiest Way: Direct Import
GitLab offers a direct import feature that makes migrating repositories from GitHub or Bitbucket incredibly easy. This is the recommended method for most users.
Here’s how it works:
- Create a GitLab Account (if you don’t have one already): Head over to GitLab.com and sign up for a free account.
- Create a New Project in GitLab: Click the “+” button in the top right corner and select “New project/repository.”
- You’ll see a few options, but we’re going to choose “Import project.”
- Select Your Source (GitHub or Bitbucket):
- You’ll see icons for GitHub, Bitbucket, and other options. Click the icon that corresponds to where your project is currently hosted.
- Authorize GitLab to Access Your Account:
- You’ll be prompted to authorize GitLab to access your GitHub or Bitbucket account. This is necessary for GitLab to see your repositories. Click the “Authorize” button and follow the on-screen instructions.
- Choose the Repository to Import:
- After authorization, you’ll see a list of your repositories on GitHub or Bitbucket. Select the repository you want to migrate.
- Configure the Import:
- Project Name: This will be the name of the project in GitLab. You can change it if you like.
- Project Visibility: Choose whether the project should be “Private,” “Internal,” or “Public.”
- Namespace: This is usually your username.
- Click the “Import project” button.
- Wait for the Import to Complete:
- GitLab will start importing your repository. This may take some time, depending on the size of your project and the amount of data it contains. You can monitor the progress on the project page.
That’s it! Your project should now be successfully imported into GitLab.
What Gets Imported?
The direct import feature generally imports:
- Repository code (including all branches and tags)
- Commit history
- Issues
- Pull requests (as merge requests in GitLab)
- Wiki pages
Important Considerations:
- .gitignore: Double-check your
.gitignorefile. If you accidentally excluded important files or folders, you might need to adjust it before importing. - Large Repositories: Importing very large repositories can take a considerable amount of time.
- Access Tokens: If you’re using access tokens for authentication in your scripts or applications, remember to update them to use GitLab’s personal access tokens.
- Continuous Integration: If you were using GitHub Actions or Bitbucket Pipelines, you’ll need to set up GitLab CI/CD. This usually involves creating a
.gitlab-ci.ymlfile in your repository.
Manual Import (If Direct Import Fails):
While the direct import feature is usually reliable, sometimes things can go wrong. If you encounter issues, you can manually import your project using Git.
- Create a New, Blank Project in GitLab: Follow the same steps as above to create a new project, but don’t choose the “Import project” option. Just create a blank project.
- Clone Your Repository Locally: Open your terminal or command prompt and navigate to the directory where you want to store your local copy of the repository. Then, clone your repository from GitHub or Bitbucket using the
git clonecommand:git clone <repository_url>Replace
<repository_url>with the URL of your GitHub or Bitbucket repository. -
Add GitLab as a Remote: In your local repository, add the GitLab repository as a new remote. Find the repository URL of your blank GitLab project. Then use the
git remote addcommand:git remote add gitlab <gitlab_repository_url>Replace
<gitlab_repository_url>with the URL of your GitLab project. -
Push Your Code to GitLab: Now, push all your branches and tags to the GitLab repository:
git push --all gitlab
git push --tags gitlab
Next Steps: Configuring GitLab CI/CD
One of the biggest benefits of using GitLab is its integrated CI/CD. To start using it, you’ll need to create a .gitlab-ci.yml file in the root of your repository. This file defines your CI/CD pipeline.
GitLab has excellent documentation on how to create a .gitlab-ci.yml file. You can find it here: https://docs.gitlab.com/ee/ci/yaml/
Conclusion
Migrating your projects from GitHub or Bitbucket to GitLab is a relatively straightforward process, especially with the direct import feature. By following these steps, you can easily move your code and start taking advantage of GitLab’s powerful features. Good luck!